How to Fix 0x80004002: No Such Interface Supported on Windows 10
So, if you are facing 0x80004002: No such interface supported Windows 10 error under several circumstances, here are some amazing troubleshooting methods to deal with the issue. Let us check and implement them on the computer to fix the problem. Follow the methods in the same order to attain the best results.
How to Fix 0x80004002: No Such Interface Supported on Windows 10 Method 1: Restart Windows Explorer Method 2: Run Windows Update Troubleshooter Method 3: Restart Windows Settings Method 4: Re-register Dynamic Link Library Method 5: Create a New User Profile Method 6: Repair System Files Method 7: Run Malware Scan Method 8: Use CCleaner Method 9: Update Windows Method 10: Reset PC
Method 1: Restart Windows Explorer
You will face the said problem mostly when you access any data in Windows Explorer. Hence, it’s worth giving a chance of fixing the issue by restarting Windows Explorer as instructed below.
Launch Task Manager by hitting Ctrl + Shift + Esc keys simultaneously.
In the Task Manager window, click on the Processes tab.
Now, right-click on Windows Explorer and click on End Task. Note: You can also select the Restart option to implement the function directly.
Now, click on File and select the Run new task option.
Now, type Exploere.exe in the upcoming box and click on the OK button.
Now, the Windows Explorer will be restarted, after clearing out all the corrupt files associated with it.
Method 2: Run Windows Update Troubleshooter
If you still cannot manage to fix 0x80004002: No such interface supported Windows 10 error, you can try running the troubleshooter tool. The Windows Update Troubleshooter will fix any hidden bugs in your PC, causing the error. Follow the instructions and check if you have fixed the issue.
Press Windows + I keys simultaneously to launch Settings.
Click on the Update & Security tile, as shown.
Go to Troubleshoot menu in the left pane.
Select Windows Update troubleshooter and click on Run the troubleshooter button shown highlighted below.
Wait for the troubleshooter to detect and fix the problem. Once the process is complete, restart your PC. Also Read: Fix Steam Corrupt Disk Error on Windows 10
Method 3: Restart Windows Settings
In this method, all the stored settings of your Windows PC will be erased and again when you open them, they will restart. In this way, you can fix the problem as instructed below.
Hit the Windows key and type Command Prompt and click on Run as administrator.
Now, type the following commands one by one and hit Enter key.
Then, exit Command Prompt and reboot your PC.
Method 4: Re-register Dynamic Link Library
A Dynamic Link Library (DLL) is a set of codes that can be used by two or more programs simultaneously. A corrupt file in DLL can lead to 0x80004002 error code and thus, you can try re-registering the component by using a command line. Here are a few instructions to do that. Note: Ensure to create a restore point if something goes wrong in the process.
Open Command Prompt as administrator.
Now, type the following command in the Command window and hit Enter key. regsvr32 c:\windows\system32\actxprxy.dll
Wait until the command gets executed and reboot your PC once done. Check if you have fixed the issue. Also Read: How to Fix Corrupted Registry in Windows 10
Method 5: Create a New User Profile
To fix the 0x80004002 error code, try creating a new local account with administrative privileges and move all your files to it. Here is how to do it. Deleting your user profile will remove all the corrupt programs and files associated with your account. Here are a few steps to delete your User Profile and recreate it on your PC.
Launch Command Prompt as administrator.
Then, type control userpasswords2 command and hit Enter key.
User Accounts window will appear. Under the Users tab, click on Add… button to add an account.
Select Sign in without a Microsoft account (not recommended) option and click on Next.
Then, click on the Local account button.
Enter your login credentials namely User name & Password. Retype the password in Confirm password field and leave a Password hint too. Then, click on Next.
Follow the on-screen instructions. Click on Finish to create a local account.
Now, assign admin rights to the account by selecting the Properties option.
Under the Group Membership tab, choose the Administrator option.
Click Apply > OK to save changes made.
Now, navigate to your old user profile. C: > Users > OldAccount. Note: Here, C: is the drive letter where Windows is installed, and OldAccount is your old user account.
Copy all the files in the folder except the following:
Ntuser.dat.log Ntuser.ini Ntuser.dat
Now, navigate to your new user profile. C: > Users > NewAccount. Note: Here, C: is the drive letter where Windows is installed, and NewAccount is your old user account.
Paste all the files into your new user account.
Next, launch Control Panel from the search menu, as shown.
Set View by: > Large icons and click on User Accounts.
Next, click on Manage Another Account, as shown.
Select the old user account and click on Delete the account option, as highlighted below.
Now, sign in with your new account and you will not face 0x80004002: No such interface supported error again. Also Read: How to Fix Error 0x80070002 Windows 10
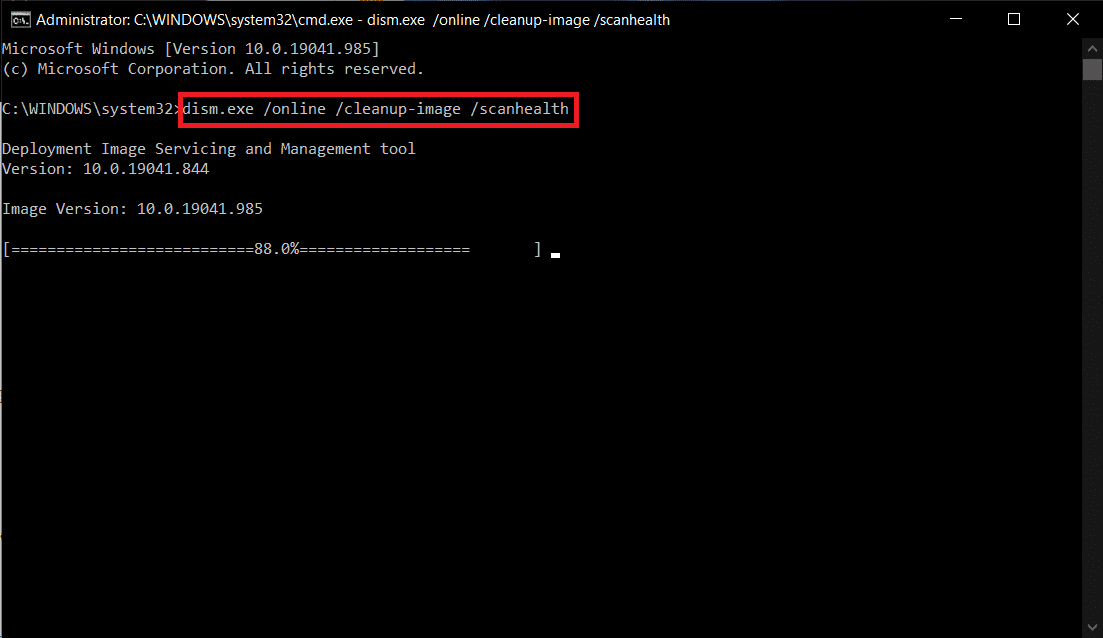
Method 6: Repair System Files
The System File Checker or SFC is a built-in command tool through which you can fix corrupt and missing files. All the corrupt configuration files will be replaced by good ones and thus you can fix the No such interface supported Windows 10 issue easily. Here are a few simple steps to run SFC and DISM commands.
Hit the Windows key, type Command Prompt and click on Run as administrator.
Click on Yes in the User Account Control prompt.
Type chkdsk C: /f /r /x command and hit Enter key.
If you are prompted with a message, Chkdsk cannot run…the volume is… in use process, then, type Y and hit the Enter key.
Again, type the command: sfc /scannow and press Enter key to run the System File Checker scan.
Note: A system scan will be initiated and it will take a couple of minutes to finish. Meanwhile, you can continue performing other activities but be mindful of not accidentally closing the window. After completing the scan, it will show either of these messages:
Windows Resource Protection did not find any integrity violations. Windows Resource Protection could not perform the requested operation. Windows Resource Protection found corrupt files and successfully repaired them. Windows Resource Protection found corrupt files but was unable to fix some of them.
- Once the scan is finished, restart your PC.
- Again, launch Command Prompt as administrator and execute the given commands one after the other: Note: You must have a working internet connection to execute DISM commands properly.
Method 7: Run Malware Scan
Well, the primary method to fix the problem is to deal with the malicious software present in your computer. Few harmful data may be hidden in your system files causing the issue. In this, scanning your computer with a strong security tool will be an amazing solution. You can either use a third-party tool for scanning your device, yet, instead of relying on any unknown software, you can scan your PC by using an inbuilt security suite as follows.
Hit Windows + I keys simultaneously to launch Settings.
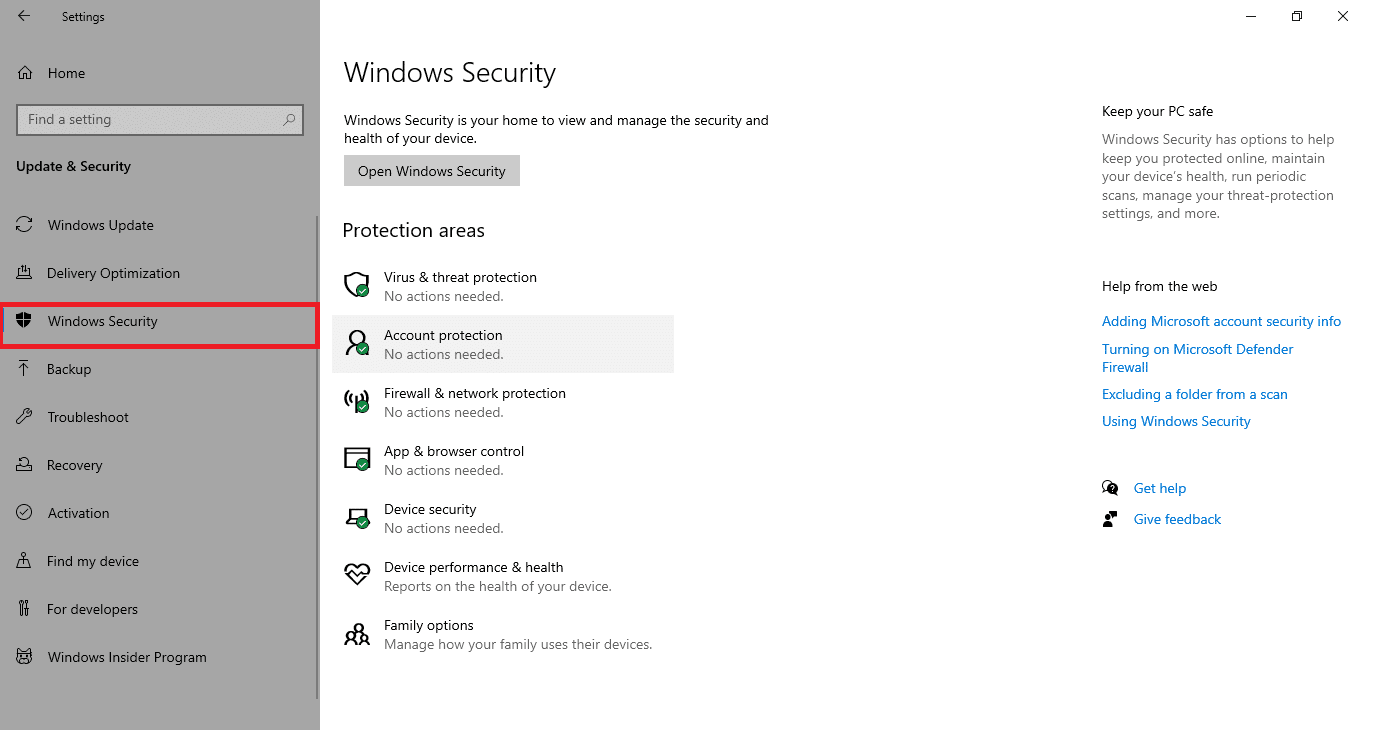
Here, click on Update & Security settings as shown.
Go to Windows Security in the left pane.
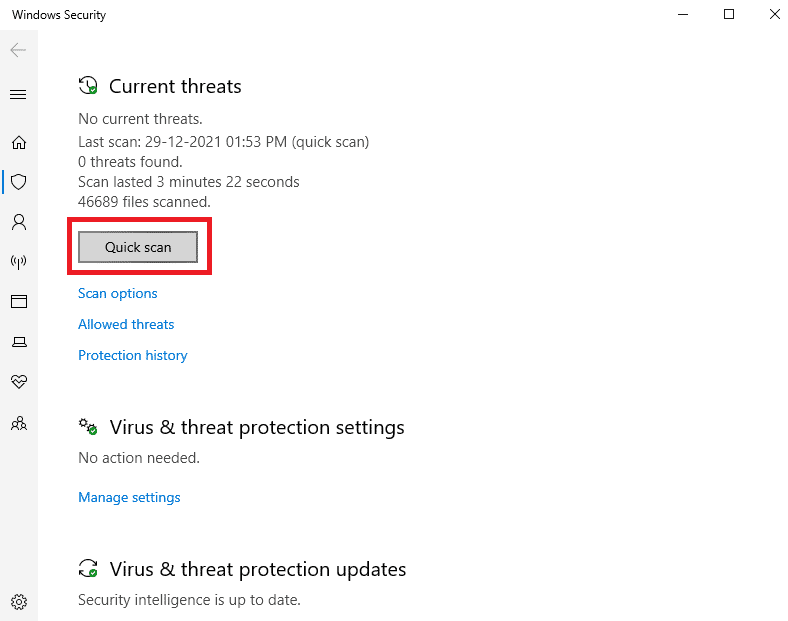
Click on the Virus & threat protection option in the right pane.
Click on the Quick Scan button to search for malware.
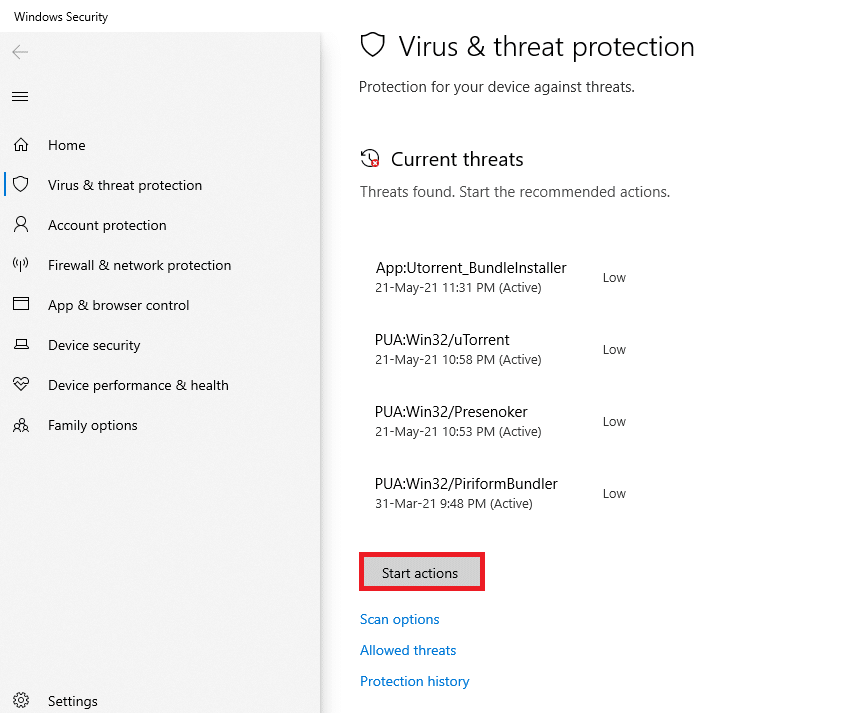
6A. Once the scan is done, all the threats will be displayed. Click on Start Actions under Current threats.
6B. If there is no threat in your device, the device will show the No current threats alert.
Also Read: How to Delete Win Setup Files in Windows 10
Method 8: Use CCleaner
If you still face 0x80004002 error even in the new user profile, then you can try CCleaner to remove the mess triggering the issue. Although there is a wide variety of PC cleaners available in the market, many users have confirmed that using CCleaner will fix the problem. CCleaner is a powerful tool that will help you clear any harmful incompatible files from the PC causing the issue. To use CCleaner, follow the below-mentioned steps.
Download CCleaner from the official site. Note: If you already have CCleaner in your device, skip to Step 4.
Then, navigate to My downloads and double-click on the setup file. In the next window, click on the Install button.
Then, click on Run CCleaner and the app will be launched now.
Now, in the left pane, click on Health Check, and in the main window, click on Start as highlighted below.
Now, click on Privacy, Space links, and choose what you need to delete from the suggested list. After that, click on Make it better in the main window as shown.
Wait until CCleaner completes its task.
Now, in the left pane, click on Registry as shown.
Then, click on Scan for Issues as shown.
Then, wait until the scanning process is complete.
Now, click on Review selected Issues… as shown below.
In the next prompt, click on Yes to back up the registry.
Follow the on-screen instructions and click on Fix All Selected Issues to clear all corrupt registry files.
Now, reboot your PC and you will not face 0x80004002 error again.
Method 9: Update Windows
If 0x80004002 error is caused due to any bugs in your PC, you can fix them by updating the Operating System. Microsoft often releases updates to fix any complications and glitches occurring within the patches. Update your Operating System as instructed below and check if you face the issue again.
Press Windows + I keys simultaneously to launch Settings.
Click on the Update & Security tile, as shown.
In the Windows Update tab, click on Check for updates button.
4A. If a new update is available, then click Install Now and follow the instructions to update.
4B. Otherwise, if the Windows is up-to-date, then it will show You’re up to date message.
Also Read: 7 Ways to Fix iaStorA.sys BSOD Error on Windows 10
Method 10: Reset PC
If you did not get any fix for 0x80004002: No such interface supported Windows 10 error from any of the above methods, it would be best if you proceed with the clean boot of your computer. Note: Going forward with this method will lead to the deletion of your files. It is advised to create a backup before going ahead with this method.
Press the Windows key, type Reset this PC, and click on Open.
Click on Get started in the Settings window.
It will ask you to choose between two options: Keep my files & Remove everything. Choose Remove Everything.
On the next screen, choose how you are going to reinstall Windows from two options: Cloud Download and Local reinstall.
Cloud Download: Windows will download the latest version to be installed after the reset. This requires an active internet connection, Local reinstall: Uses already downloaded Windows installation files.
Review your settings and click on Next to start the process.
During the process, your computer might reboot several times. Let it reset the Windows and configure it once again once it is ready. Still, if you did not attain any fix for the problem, perform a System Restore. If your device has not been affected by any problems, restoring your PC will resolve the issue. Make sure you create a System Restore point and when your PC malfunctions or throws any errors, perform a System Restore. Recommended:
29 Best AI Chatbots Online Fix ERR_EMPTY_RESPONSE in Google Chrome How to Find Sleep Button on Windows 10 Fix Ntoskrnl.exe High Disk Usage
We hope that this guide was helpful and you could fix 0x80004002: No such interface supported in Windows 10. Drop your suggestions and feedback regarding this article in the comment section below and let us know which method turned out to be the best for you.