To be honest, your guess is as good as ours. The obvious answer seems to be that:
Method 1: Disable Windows Connect Now Service
Windows Connect Now (WCNCSVC) service is responsible for automatically connecting your Windows 10 PC to peripheral devices such as printers, cameras, and other PCs available on the same network to allow data exchange. The service is disabled by default but the Windows update or even a rogue application may have modified the service properties.
Hit Windows + R keys simultaneously to open Run dialog box.
Here, type services.msc and click on OK to launch the Services application.
Click on the Name column header, as shown, to sort all the services alphabetically.
Locate the Windows Connect Now – Config Registrar service.
Right-click on it and choose Properties from the ensuing context menu, as depicted below.
In the General tab, click the Startup Type: drop-down menu and choose the Manual option. Note: You can also select the Disabled option to turn off this service.
Next, click on the Stop button to terminate the service.
Service Control pop-up with the message Windows is attempting to stop the following service on Local Computer… will appear, as shown.
And, the Service status: will be changed to Stopped in some time.
- Click on the Apply button to save the changes and then click OK to exit the window.
Also Read: Fix Ethernet Doesn’t Have a Valid IP Configuration Error
Method 2: Disable WPS & Reset Wi-Fi Router
The above method would have made the KFAUWI device disappear for most users, however, if your network security is indeed compromised, the device will continue to be listed. The only way to get around the issue is to reset the network router. This will revert all the settings to the default state and also kick away freeloaders from exploiting your Wi-Fi connection.
Step I: Determine IP Address
Press the Windows key, type Command Prompt and click on Run as administrator.
Type ipconfig command and hit the Enter key. Here, check your Default Gateway address. Note: 192.168.0.1 and 192.168.1.1 are the most common Router Default Gateway address.
Step II: Disable WPS Feature
Follow the steps listed below to disable WPS on your router:
Open any web browser and go to your router Default Gateway address (e.g. 192.168.1.1)
Type your username and password and click on the Login button. Note: Check the underside of the router for the login credentials or contact your ISP.
Navigate to WPS menu and select the Disable WPS option, shown highlighted.
Now, go ahead and turn off the router.
Wait for a minute or two and then turn it back on again. Also Read: Fix Wi-Fi Adapter Not Working in Windows 10
Step III: Reset Router
Check if the KFAUWI is device showing up on network issue has been resolved. If not, reset the router entirely.
Once again, open the router settings using the default gateway IP address, then Login.
Note down all the configuration settings. You will require them after resetting the router.
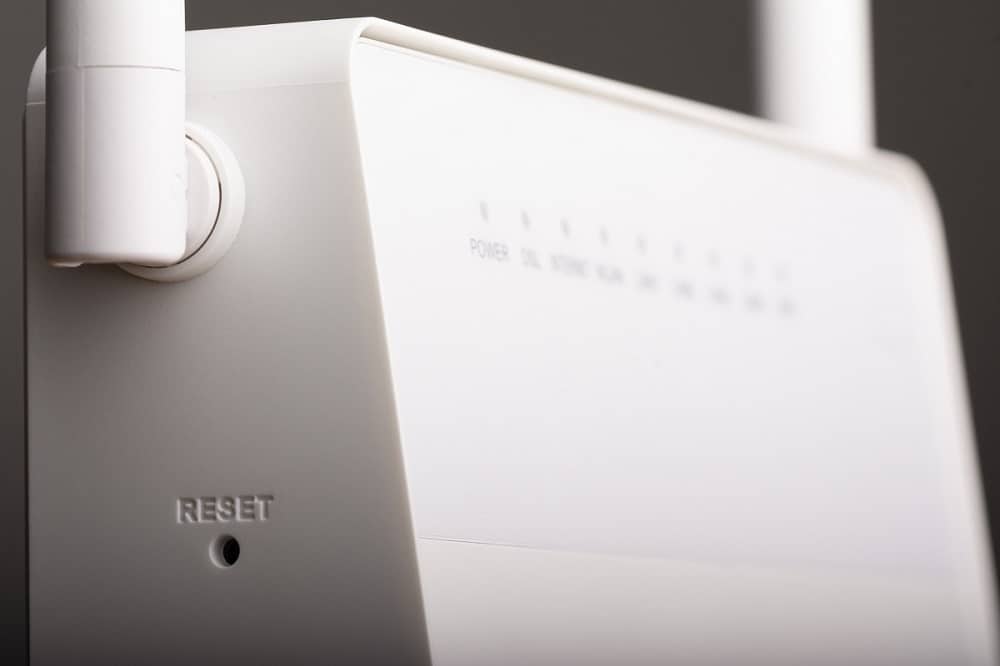
Press and hold the Reset button on your router for 10-30 seconds. Note: You have to use pointing devices like a pin, or toothpick to press the RESET button.
The router will automatically turn off and turn back on. You can release the button when the lights begin to blink.
Re-enter the configuration details for the router on the webpage and restart the router. Recommended:
How to Fix Elara Software Preventing Shutdown 7 Ways to Fix iaStorA.sys BSOD Error on Windows 10 How to Hide WiFi Network Name in Windows 11 How to Check if Modern Standby is Supported in Windows 11


