How to Change Default System Font in Windows 10
To change the default system font you have to make changes in the Registry Editor. It is therefore advised to take a backup of your system before making any changes in the Registry Editor. Make sure you take a full backup of your System because if you make any bad moves while making changes in the Registry Editor, it is completely irreversible. Another way is to create a system restore point so that you can use it to revert the changes you make during the process.
How to Change Default System Font in Windows 10 How do I change System Default Back to Segoe UI?
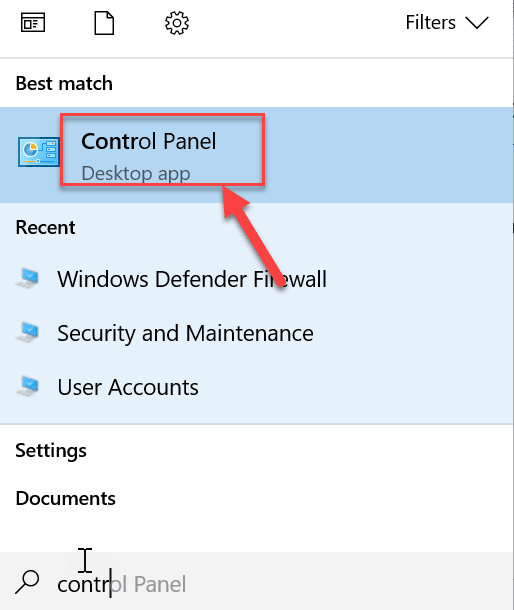
1.Type control in Windows Search then click on “Control Panel” from the Search result.
2.Now from the Control Panel window click on “Fonts“. Note: Make sure to select “Large icons” from the View by drop-down.
3.Here you will notice a list of fonts available on your device. You need to note down the exact font name that you want to use on your device.
4.Now you need to open Notepad (using Windows Search). 5.Just copy and paste the below-mentioned code in Notepad: 6.While copying and pasting this code, you need to make sure that you write new font name in the place ENTER-NEW-FONT-NAME such as Courier New or the one you have selected.
7.Now you need to save the notepad file. Click on the File option then choose Save As.
8.Next, select “All Files” from the Save as type dropdown. Then give any name to this file but make sure you give the file .reg extension.
9.Then click on Save and navigate to where you saved the file. 10.Double-click on the saved registry file & click “Yes” to merge this new registry into Registry Editor files.
11.Reboot your computer to save all the settings. Once your system reboots, you will see the changes of the fronts on all elements of the system. Now you will get a new feel on your device.
How do I change System Default Back to Segoe UI?
If you want to revert the changes and get back the default font on your device you have two options: either you use the System Restore point and revert all the changes you made or follow the below-given method: 1.Type notepad in Windows Search then click on “Notepad” from the Search result.
2.Copy and Paste the following code in the Notepad:
3.Now click on the File option and then select Save As.
4.Next, select “All Files” from the Save as type dropdown menu. Then give any name to this file but make sure you give the file .reg extension.
5.Then click on Save and navigate to where you saved the file. 6.Double-click on the saved registry file & click “Yes” to merge.
7.Reboot your PC to save changes. Note: While changing fonts of your system, you need to ensure that you do not choose any crazy fonts such as Webdings and others. These fonts are symbols that will cause a problem for you. Therefore, you need to first make sure which font do you want to apply on your device. Recommended:
What is an MKV file and how to open it? Fix Destination Path Too Long Error How to Find My Router’s IP Address? Fix Backspace Not Working in Windows 10
I hope this article was helpful and now you can easily Change Default System Font in Windows 10, but if you still have any questions regarding this guide then feel free to ask them in the comment’s section.